Froghemoth
I recieved this Froghemoth as a gift from my brother for Christmas. Thanks Gregory!
I made a few small changes to the sculpture before I started painting:
- I took off the mold lines
- I filled in some of the gaps around the neck and shoulders with green stuff
- I added some popped blisters/boils to the back, just to add some visual interest to the back of it.
After I made those changes to the sculpt, I went in and primed it in a flat grey and did an underpainting with varying shades of white. Once the model had been prepped, I started with a base of green.
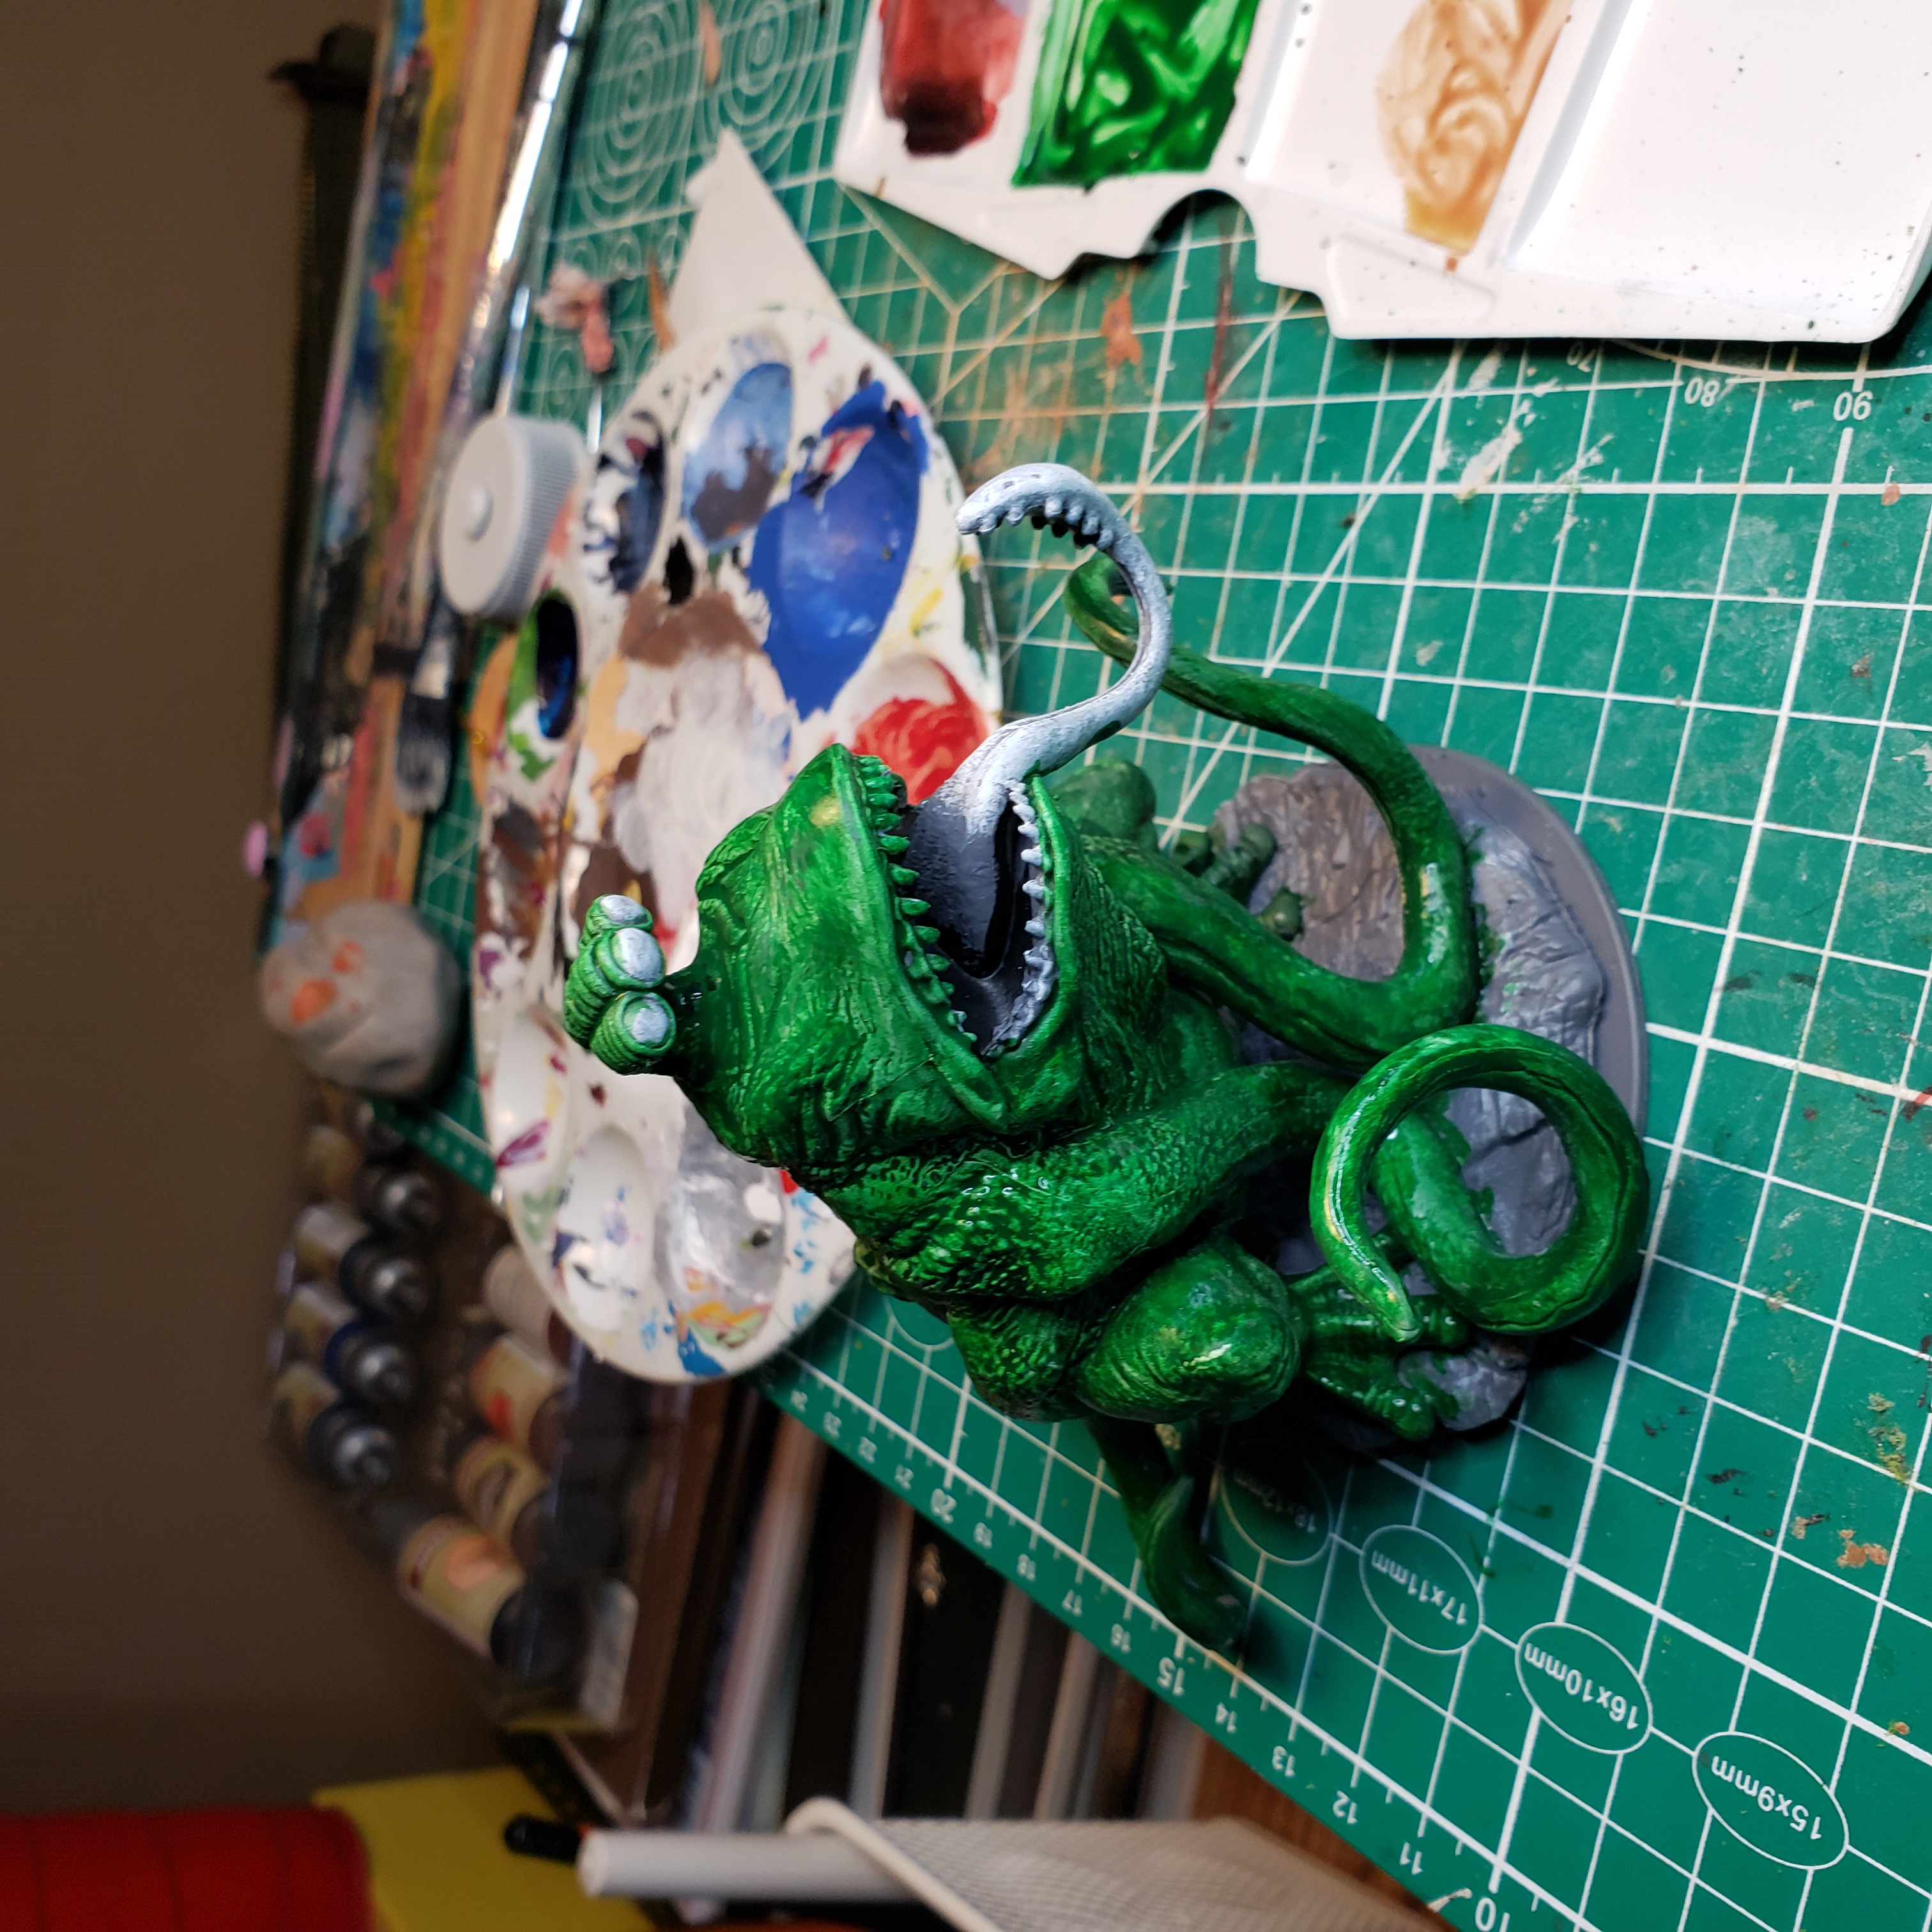
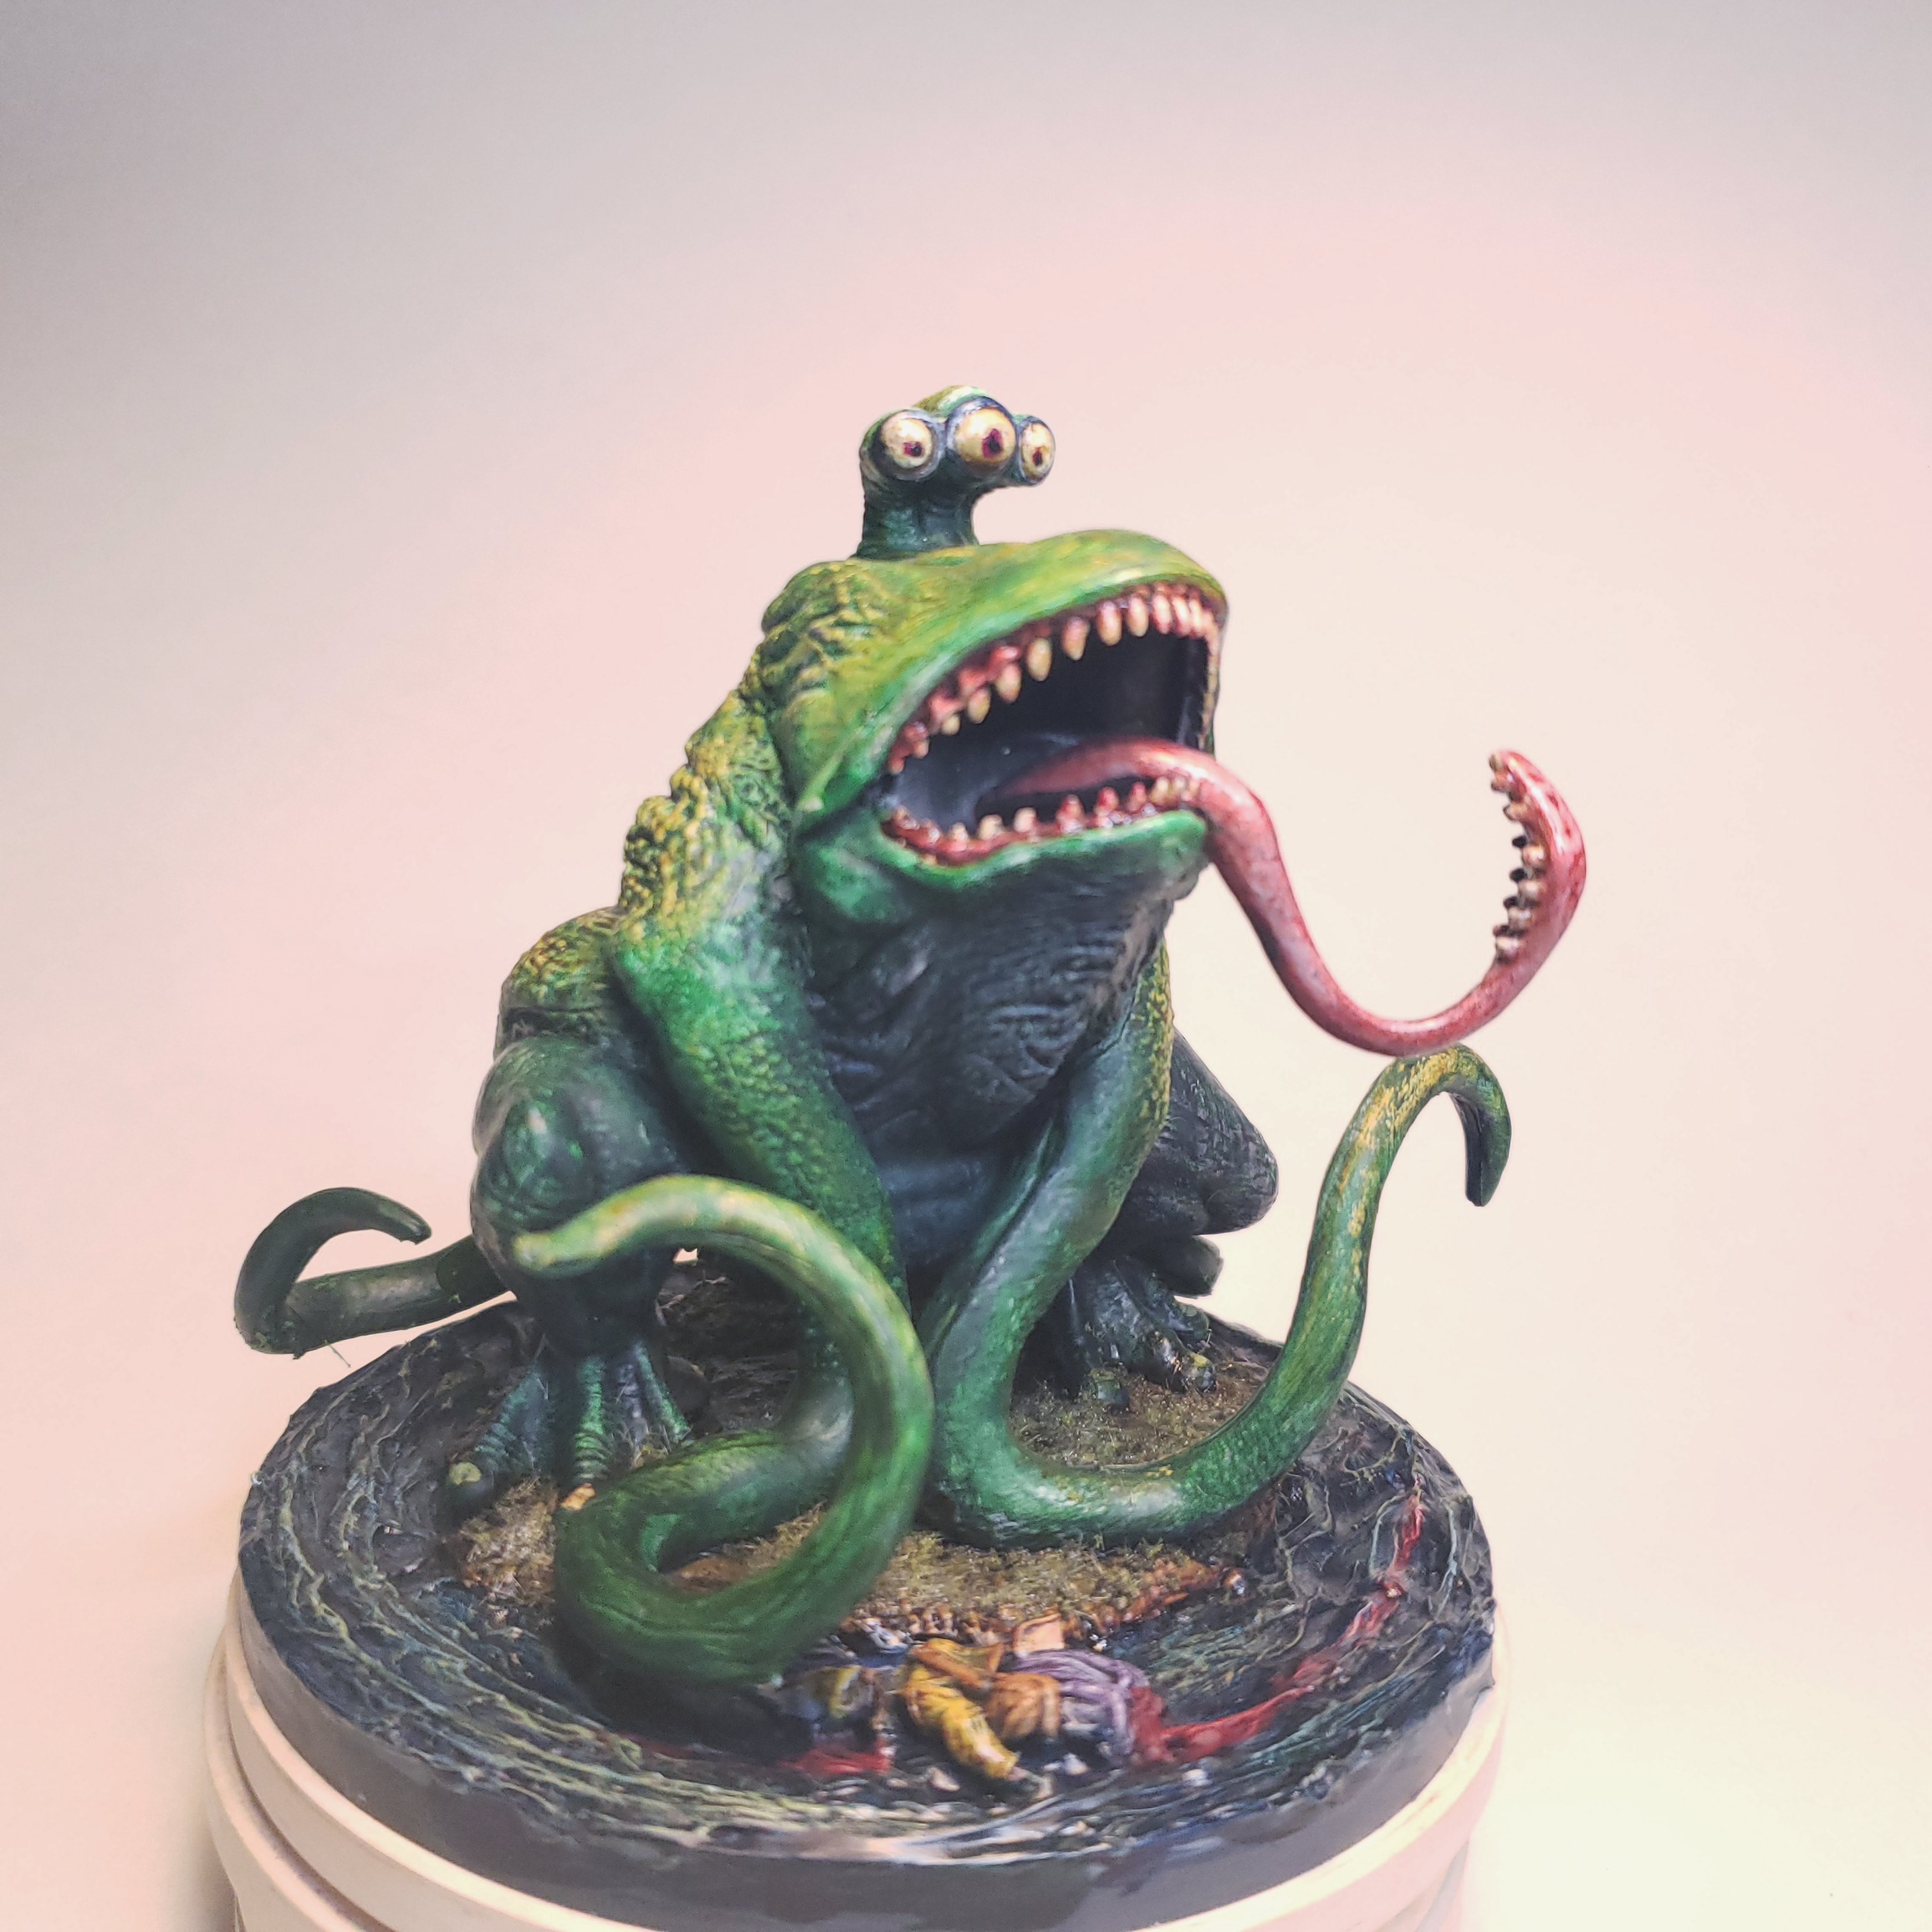
From here, I went about going back and forth with painting the details. I used "Speed Paints" and would go back and forth with the speed paints and the acrylic white to get the effects I desired. I wanted him to look nice and gross, so I hit everything with a putrid yellow highlight.
I realized that the base that came with it was pretty small, and I wanted to add something else. I think a more experienced painter/modeler would have done this step before they had basically finished the frog, but I decided to do it the hard way, I guess. I used a lid from a coffee can and mixed up some acrylic modeling paste to act as a pool surround the rock. I wanted there to be a bit of debris, so I included a facedown model that was leftover from another project.
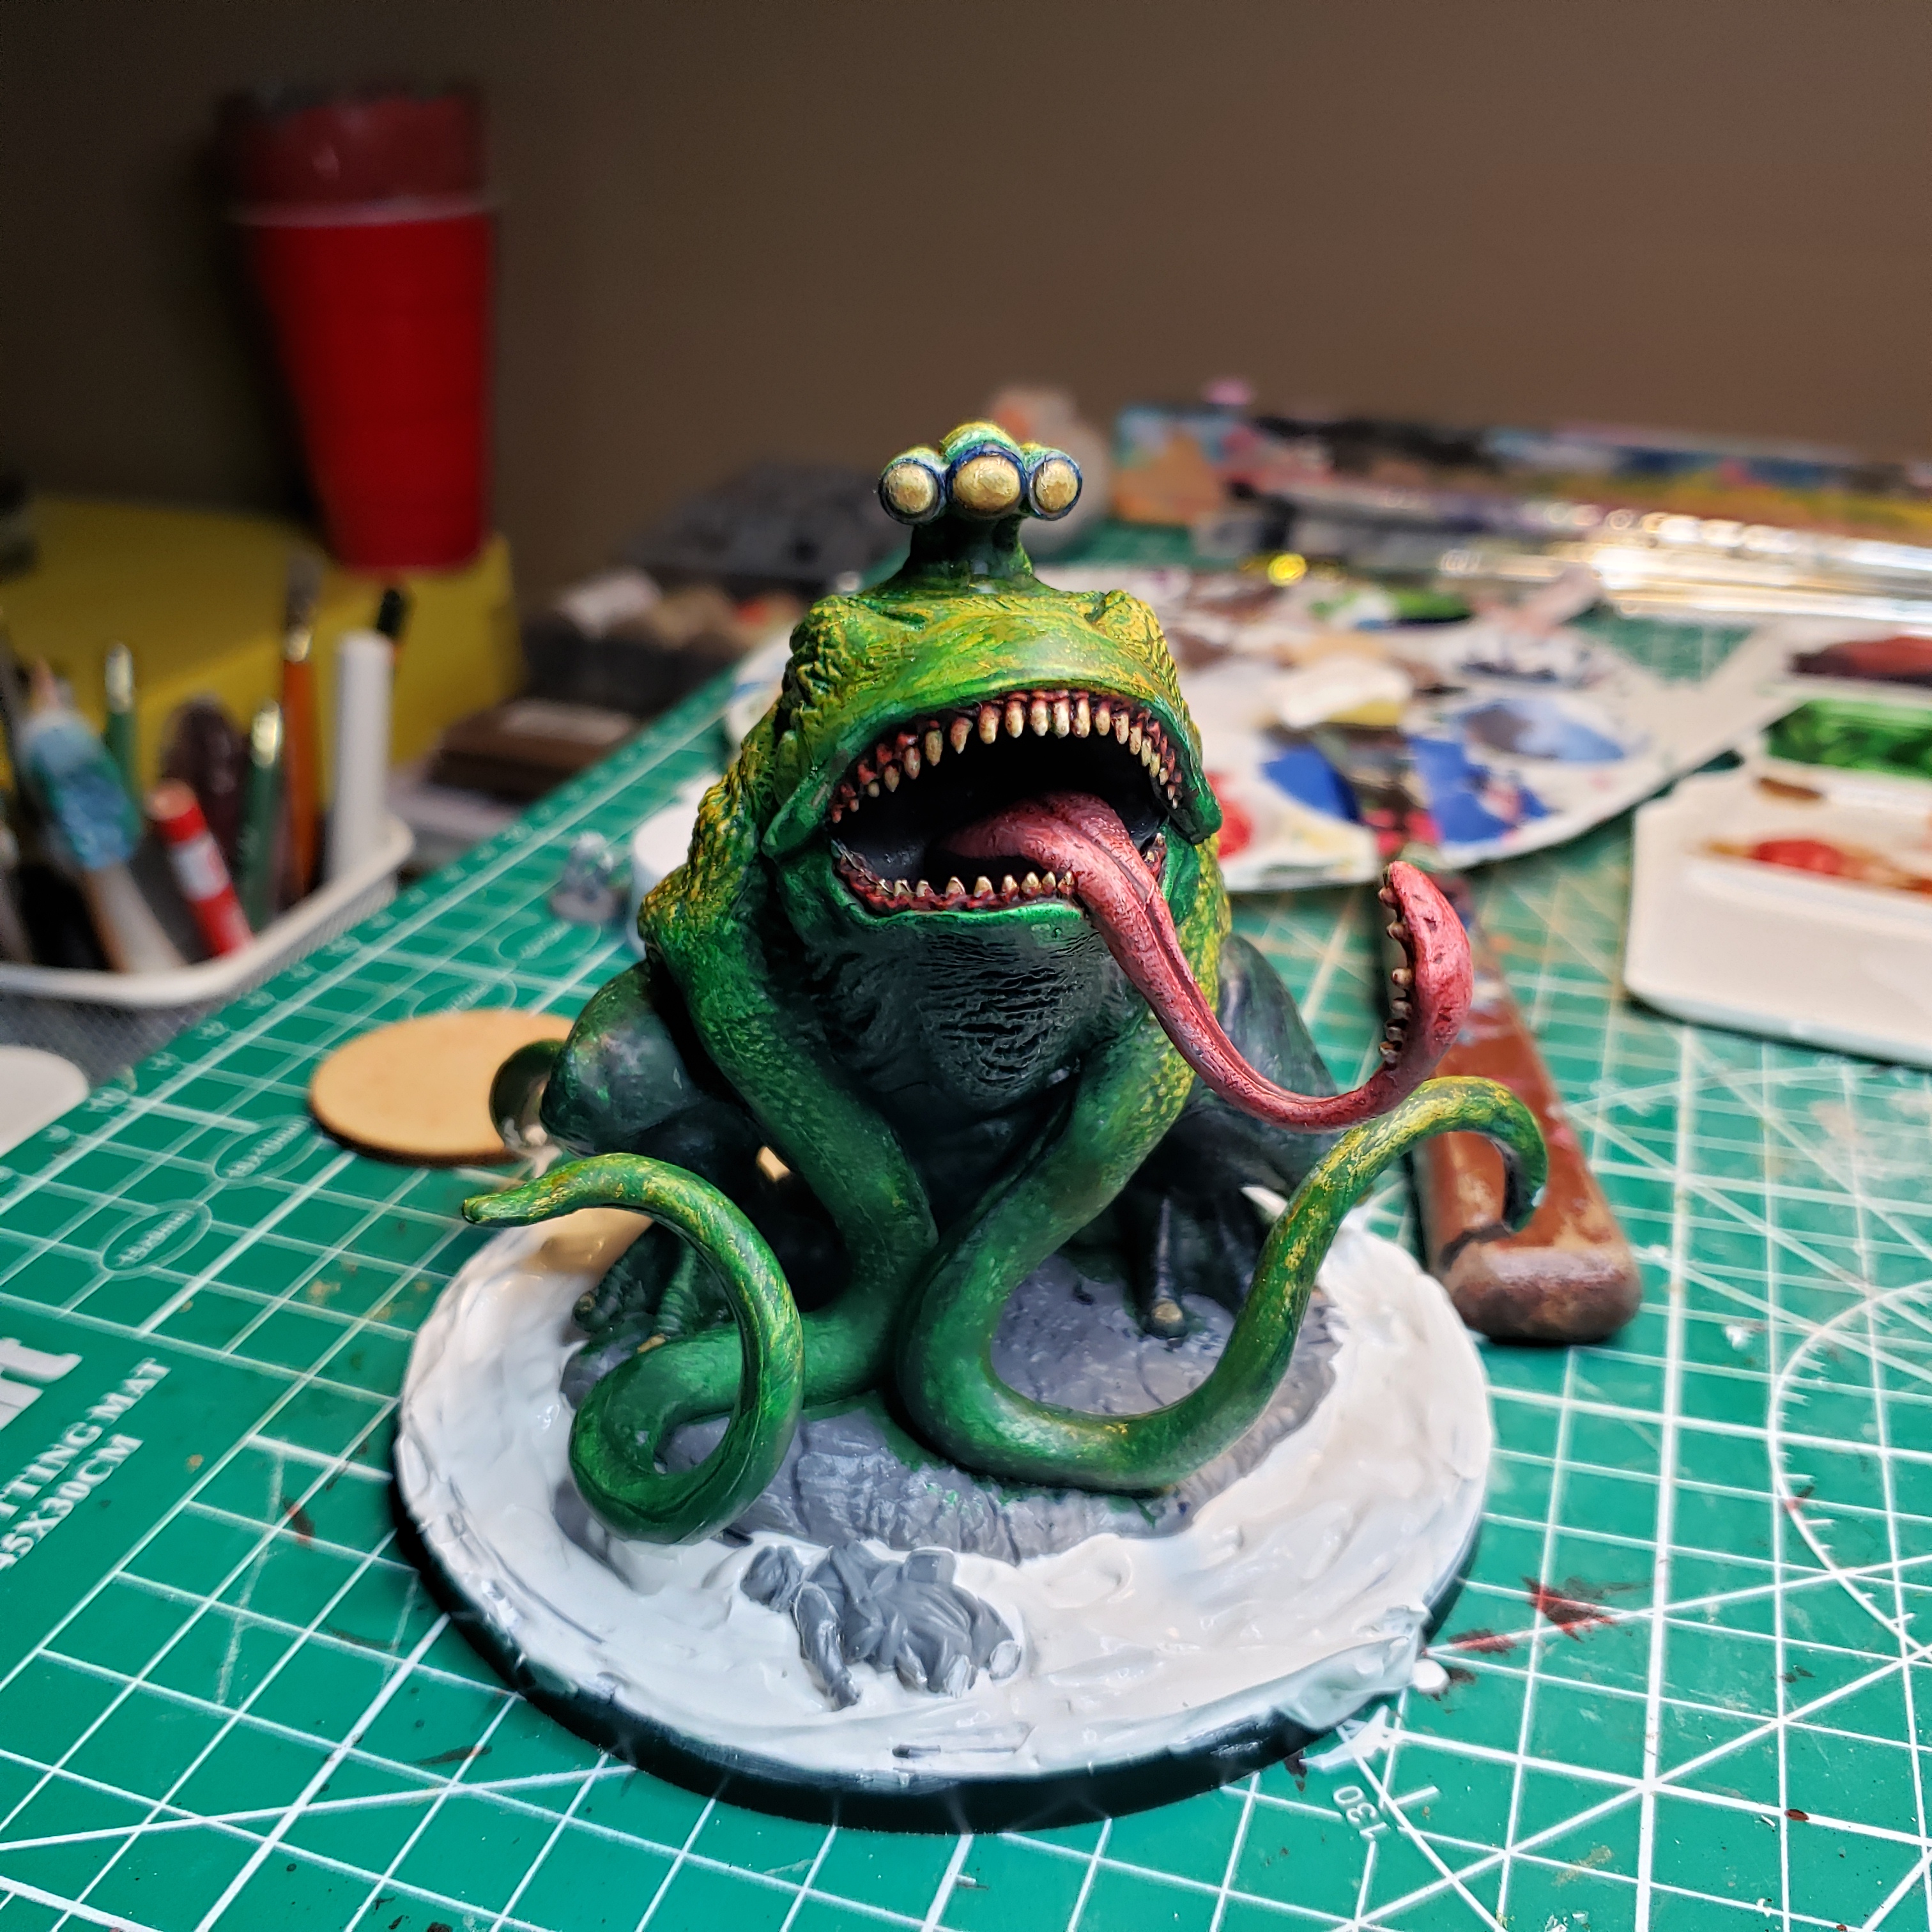
After I painted the base (the pool, the rock, and the body), I had to go back and correct a lot of mistakes I had made. Even though I was trying to be careful, my paint would occassionally get on his tentacles.
Overall, though, I'm happy with how this turned out. He looks disgusting!